

 电话:0916-2223407


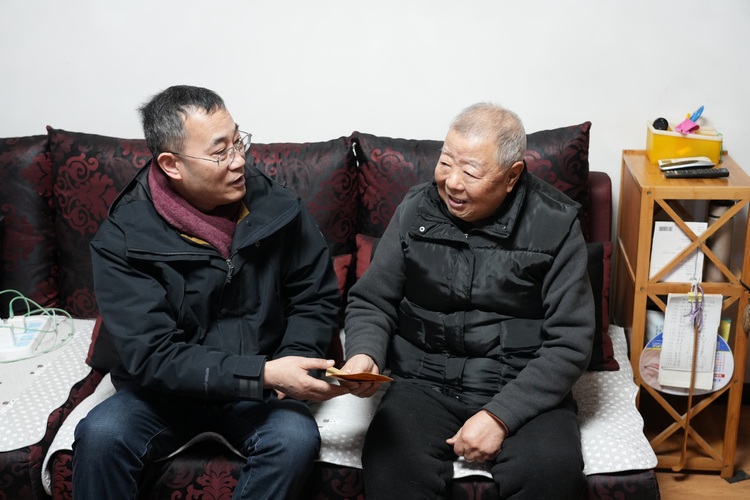
公司开展春节前走访慰问活动
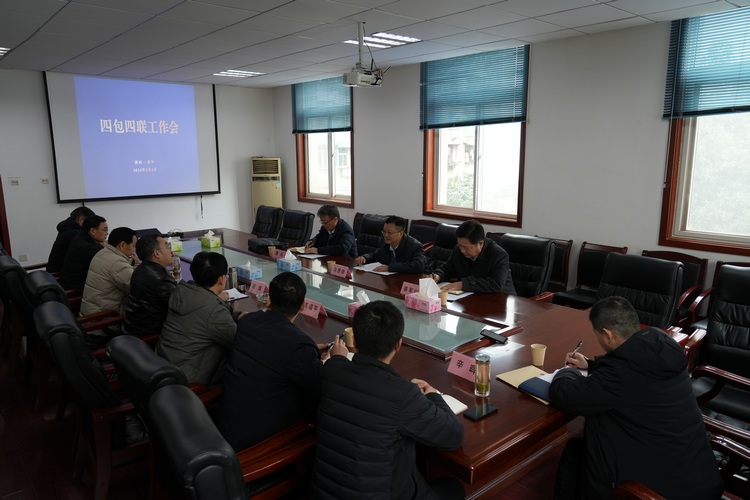
马思锦一行来公司开展四包四联工作并看望慰问困难职工
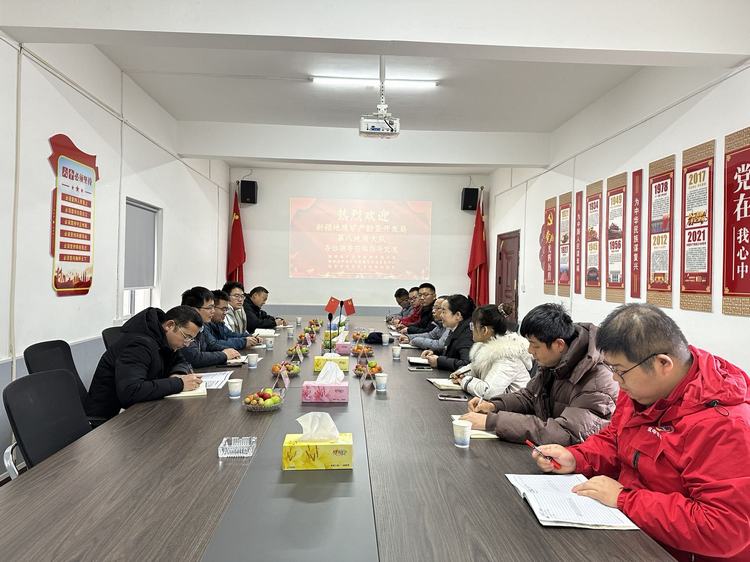
交流座谈促发展 北跨西进开新局
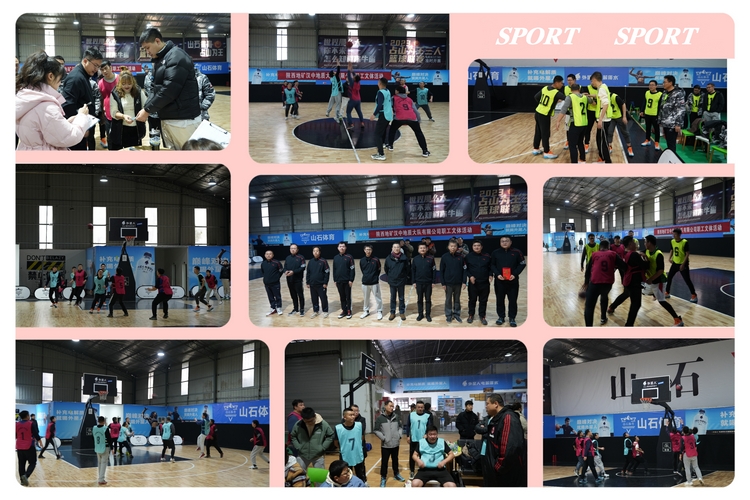
公司成功举办冬季职工趣味运动会
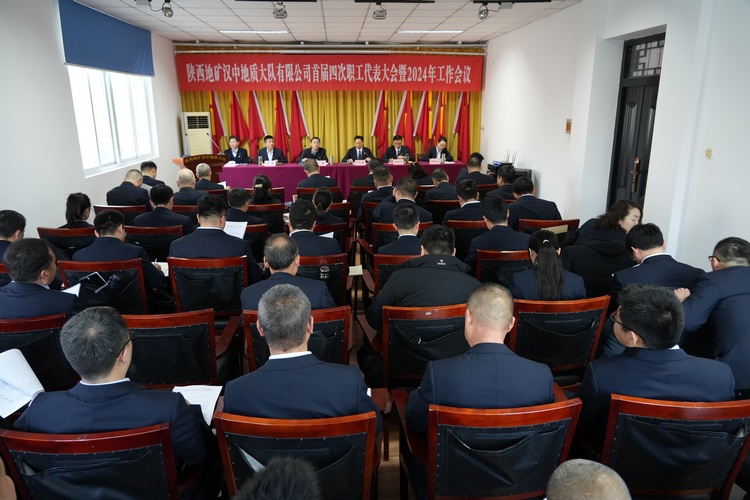
公司召开首届四次职工代表大会暨2024年工作会议
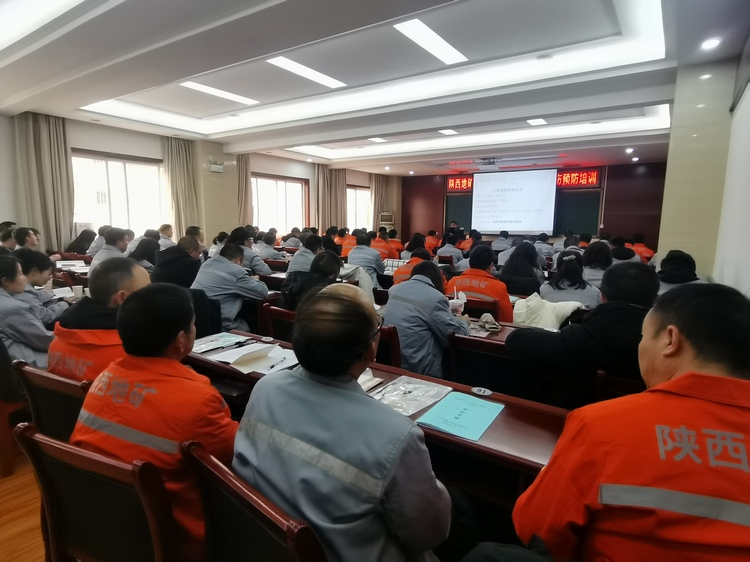
公司工伤预防专题培训班成功举办
省自然资源厅检查组来国土院核查施工图设计工作
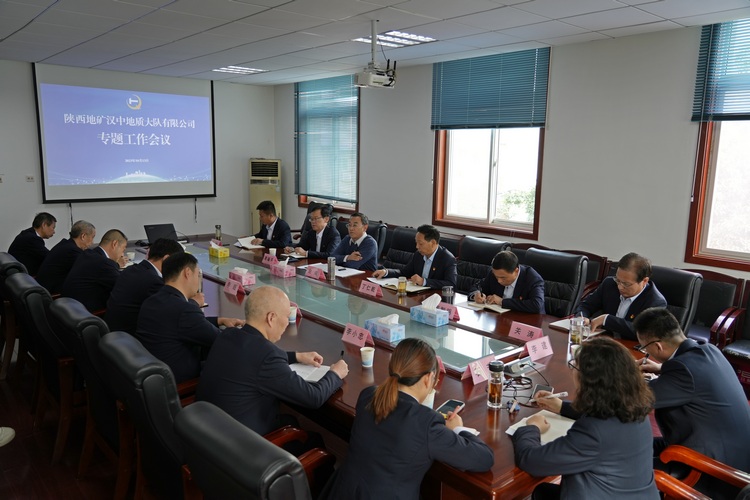
公司召开专题会议 传达屈永安书记讲话精神
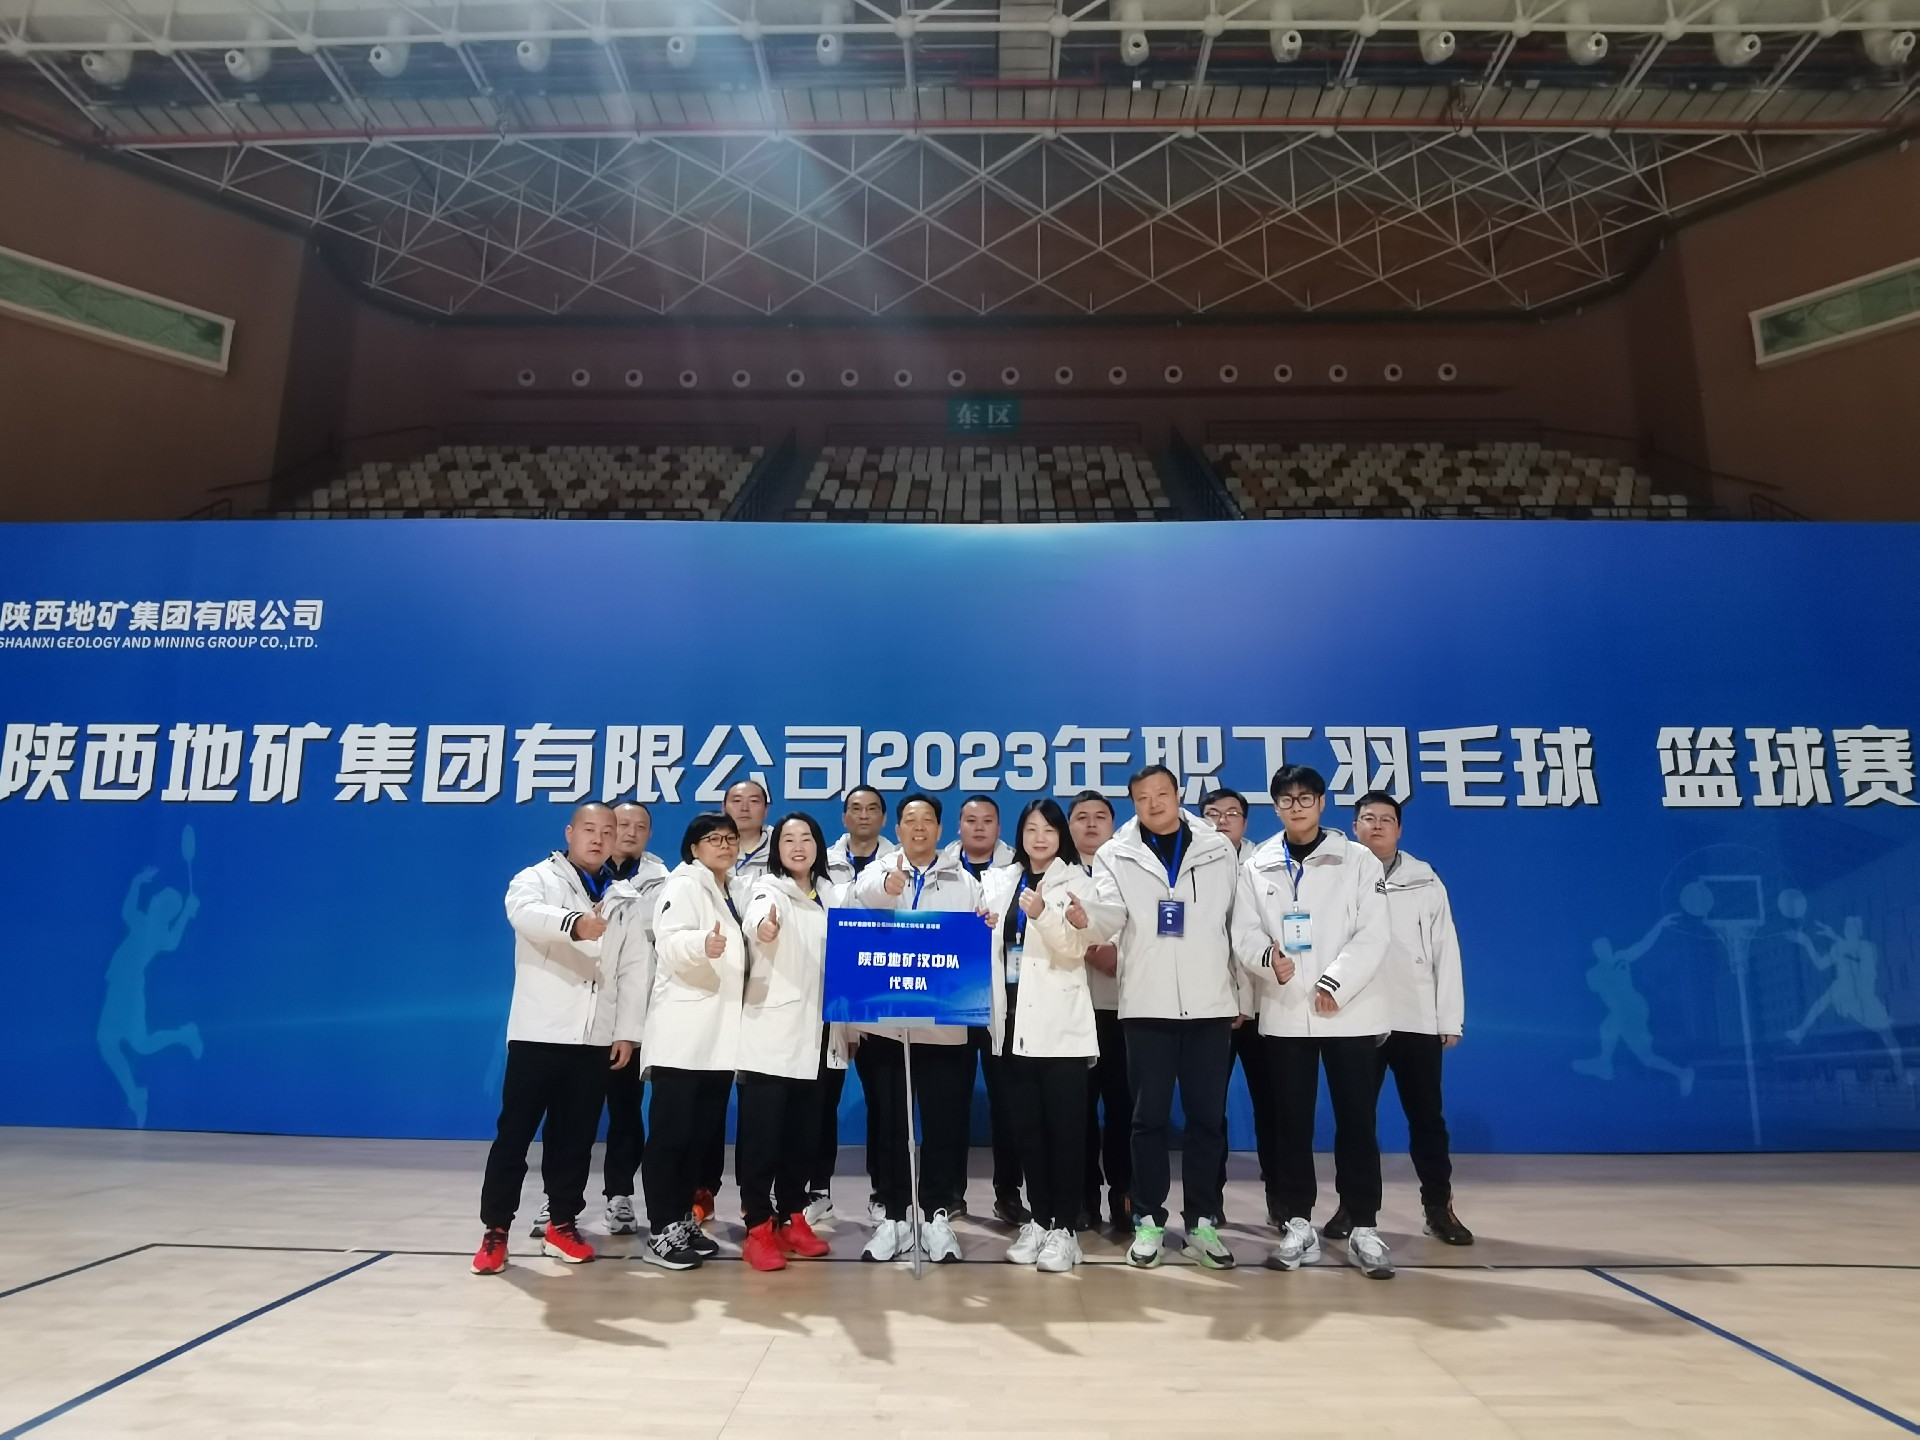
公司参加集团公司2023年职工羽毛球、篮球比赛喜获佳绩
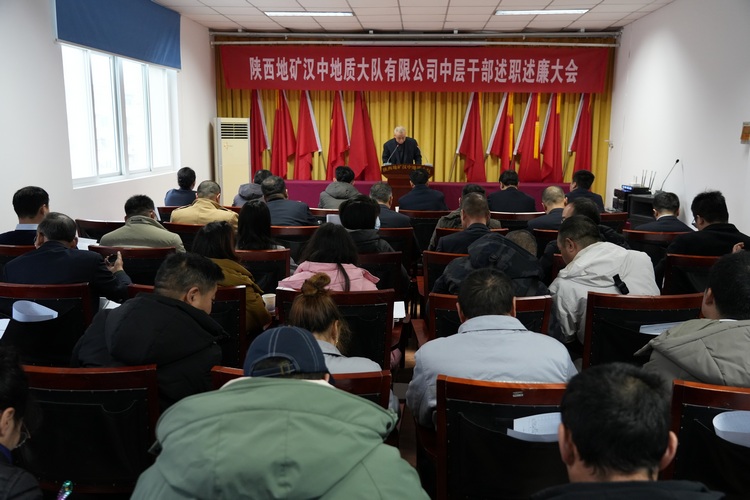
述职评议促提升 凝心聚力开新局

新疆地矿局第四地质大队与公司签订战略合作框架协议
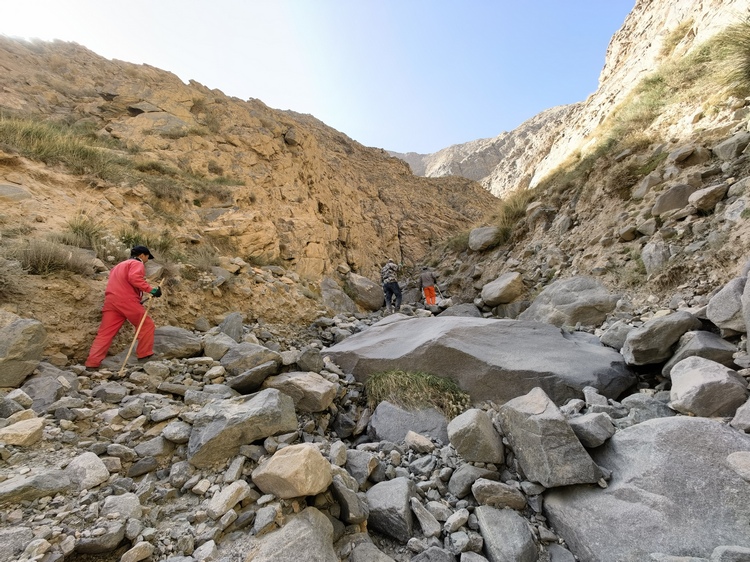
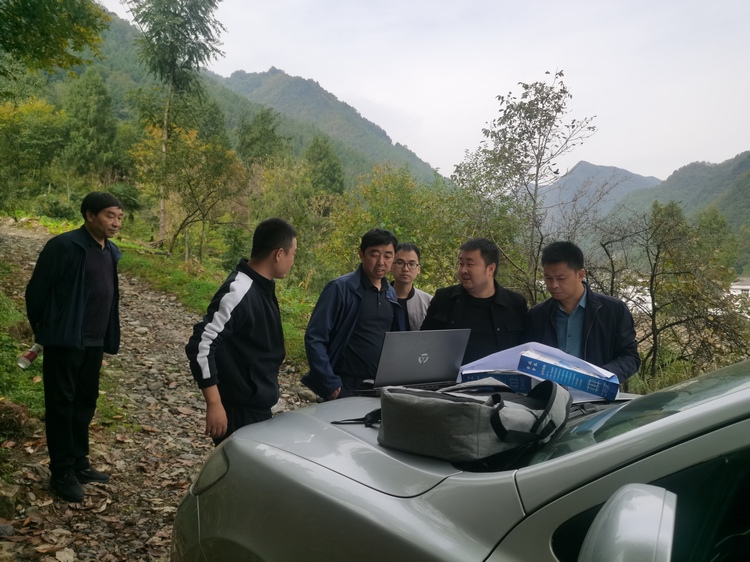
地勘院技术员到新疆且末县无人区踏勘
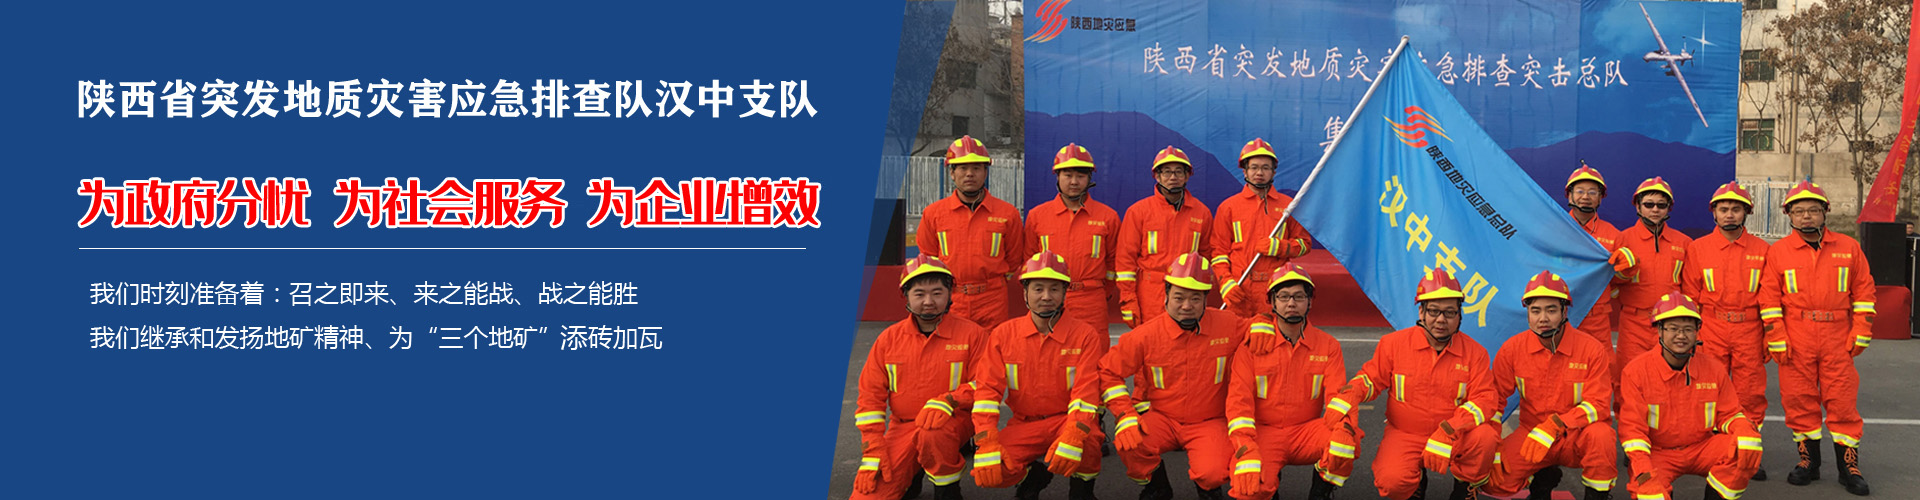
 半岛电竞主页
起源于1958年的陕南铁矿队,六十年代更名为地矿部陕西地质局第二地质队,1992年与陕西地矿局第四地质队合并为地矿部陕西地矿局半岛电竞主页
,后属地化更名为陕西省地质矿产勘查开发局半岛电竞主页
,2014年更名为陕西地矿
【查看更多】 半岛电竞主页
起源于1958年的陕南铁矿队,六十年代更名为地矿部陕西地质局第二地质队,1992年与陕西地矿局第四地质队合并为地矿部陕西地矿局半岛电竞主页
,后属地化更名为陕西省地质矿产勘查开发局半岛电竞主页
,2014年更名为陕西地矿
【查看更多】
|


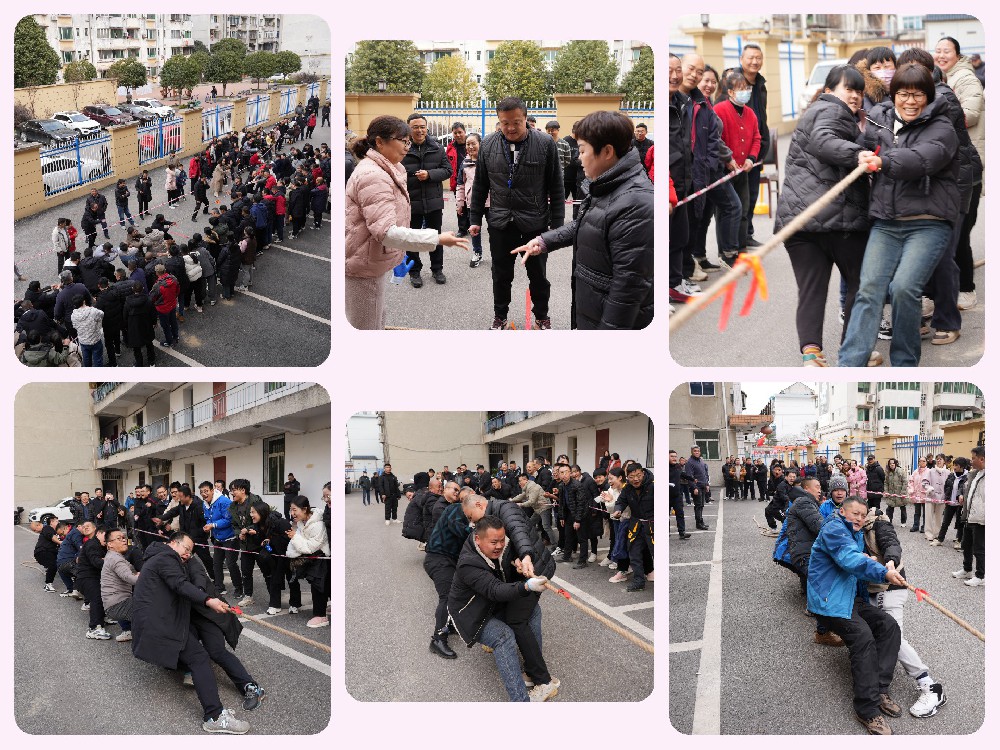
冬季职工趣味运动会 
公司举办工伤预防专题培训班 
参加集团公司职工羽毛球、篮球比赛获佳绩 
公司拓展地质主业服务西北市场 
公司4名职工荣获汉中市道德模范荣誉称号 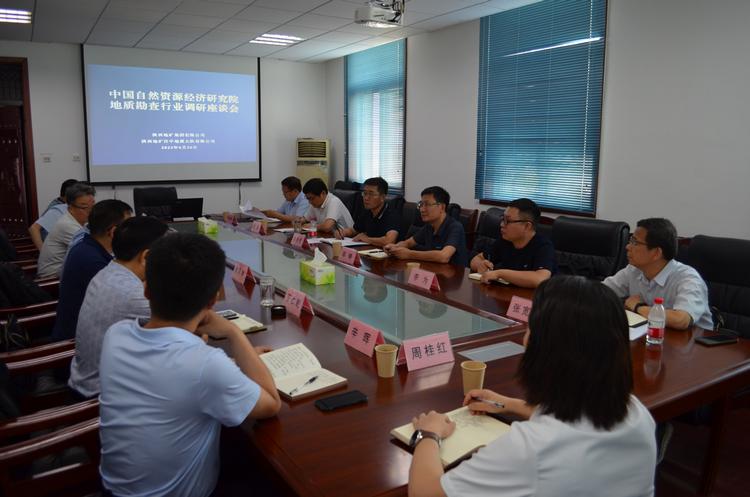
吴尚昆一行来汉中队调研座谈 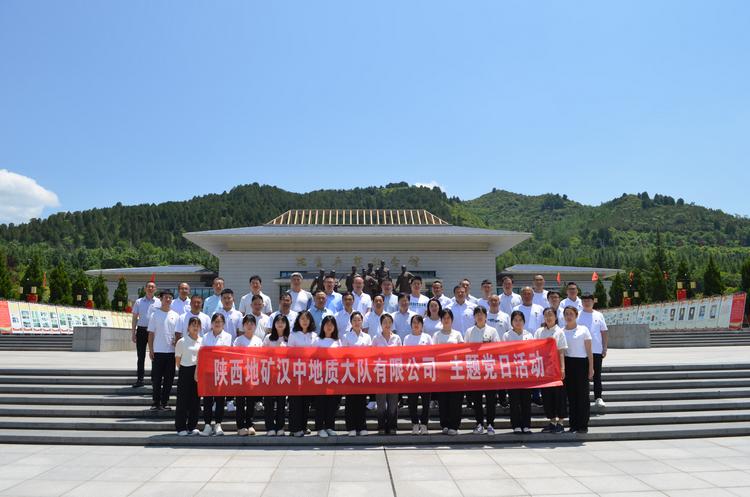
公司组织开展主题党日活动 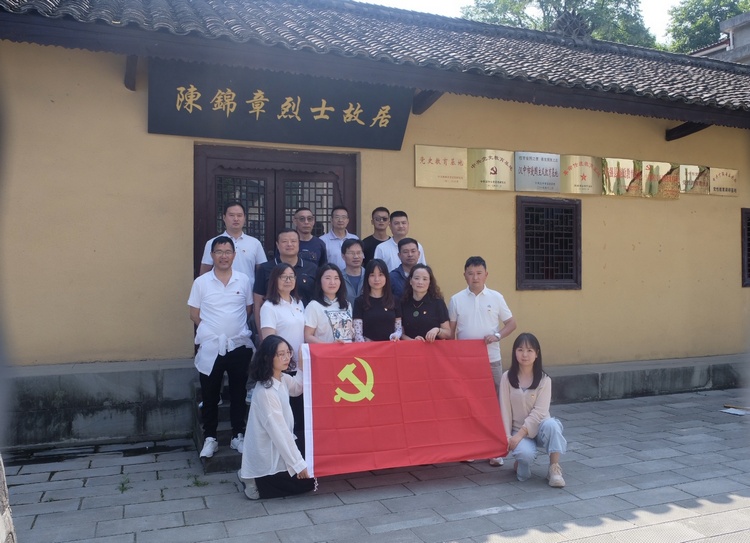
公司两个党支部联合开展主题党日活动 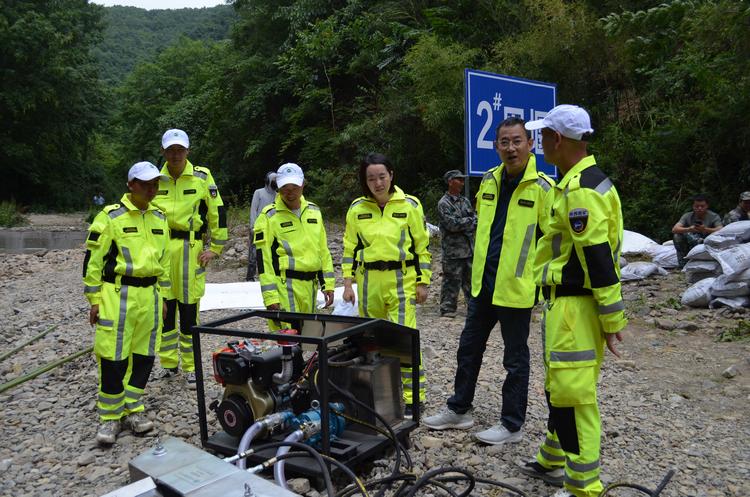
汉中市环境应急抢险救援队参加应急演练 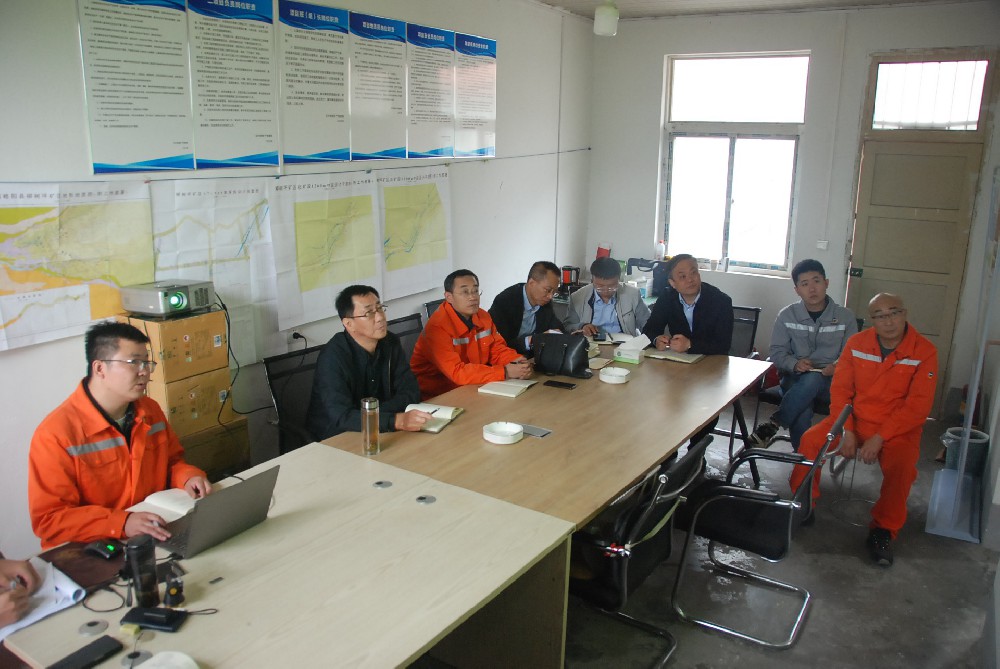
刘建勤深入汉中队调研指导工作 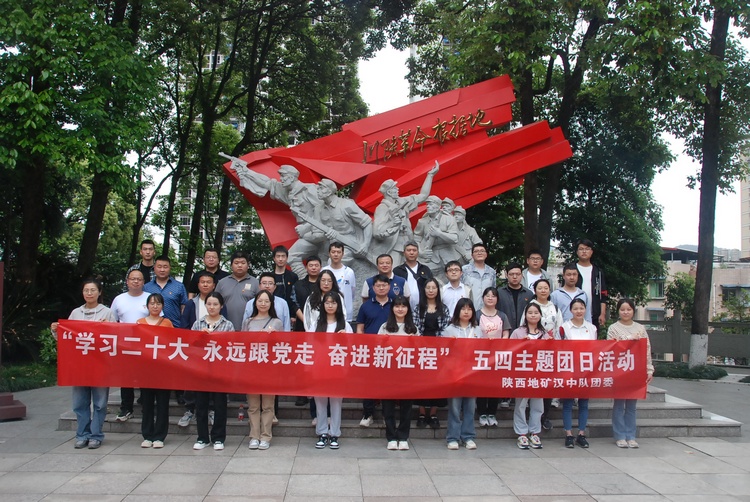
公司团委组织开展主题团日活动 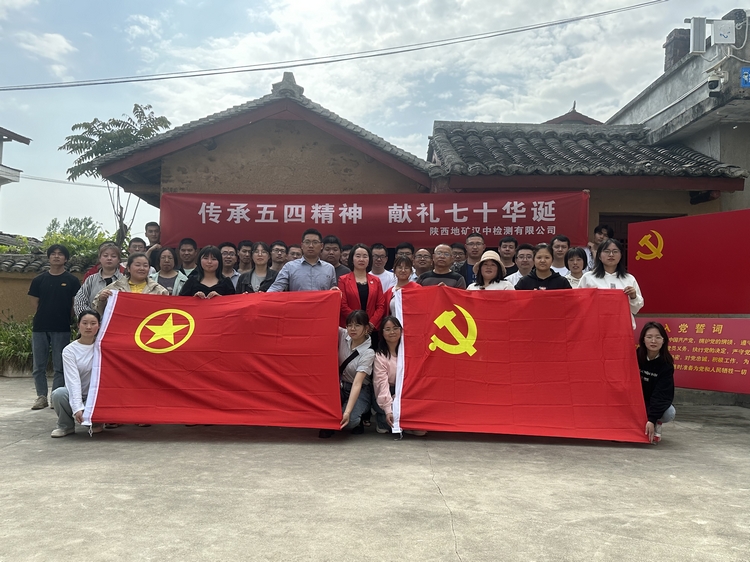
汉中检测公司组织开展青年活动 
公司参加汉中市综合应急演练 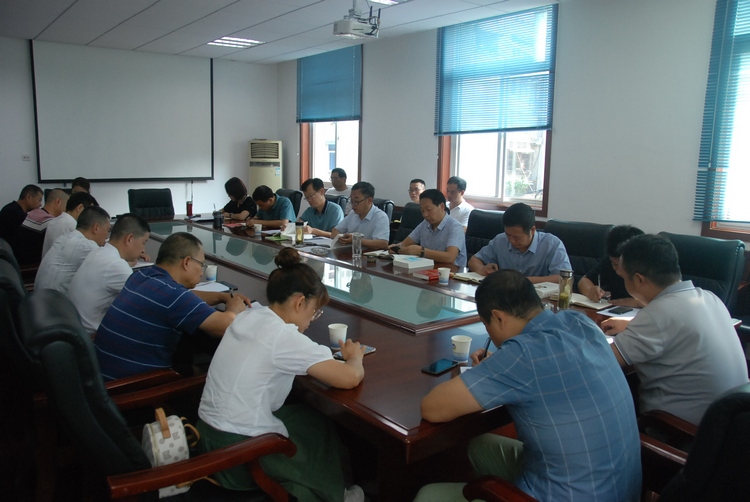
公司开展纪律教育学习宣传月活动 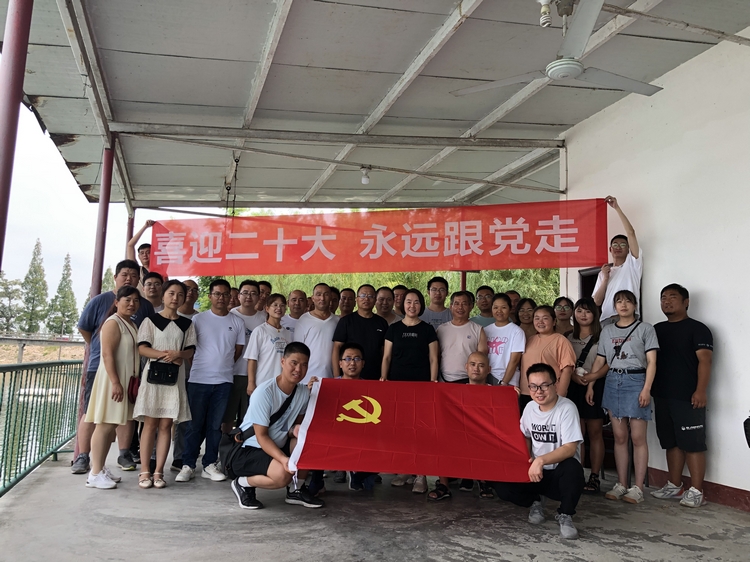
检测公司开展主题党日活动 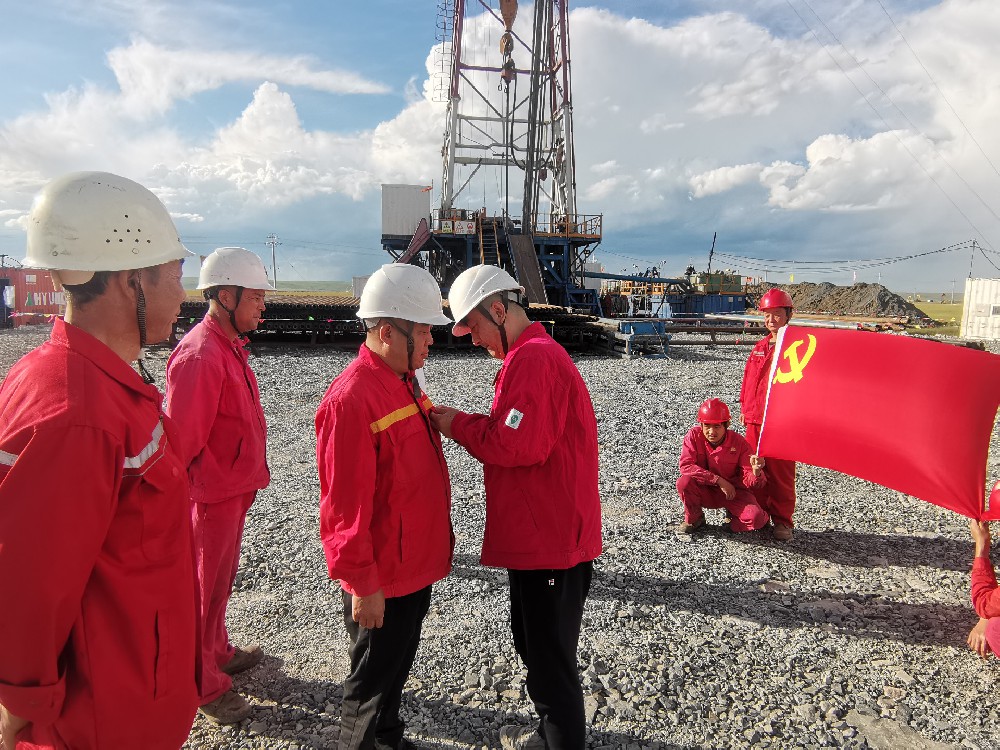
石油钻机前的宣誓仪式 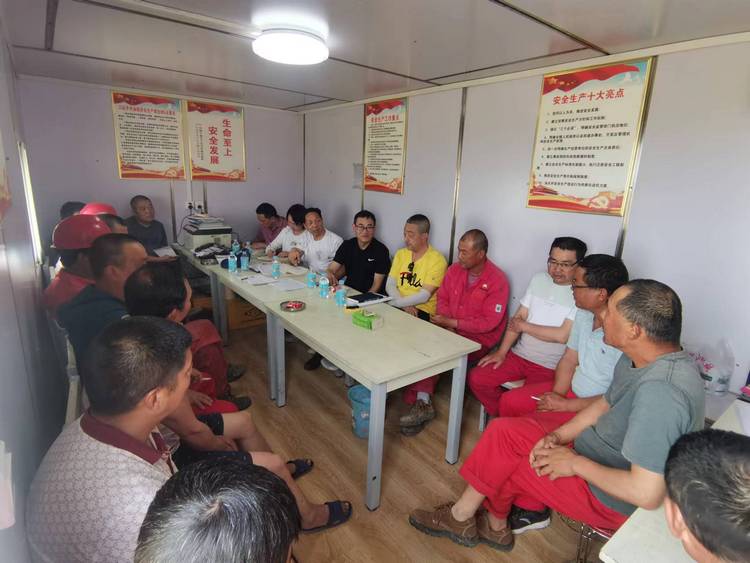
赵璞一行深入内蒙石油项目检查指导慰问 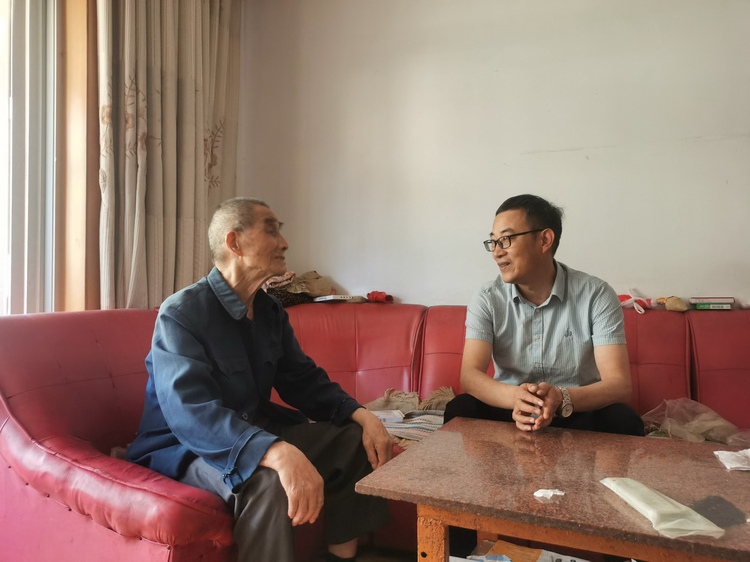
“七一”前夕走访慰问活动 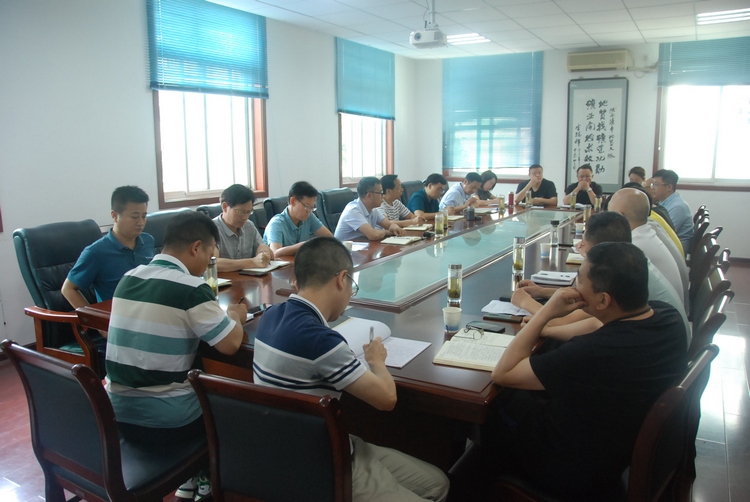
公司召开半年生产经营工作分析会 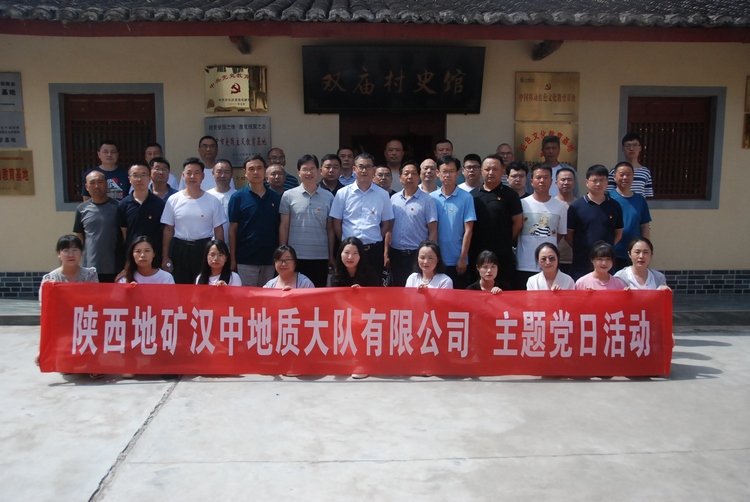
公司组织主题党日活动
友情链接:
Copyright © 2019-2020 半岛彩票官方网站 All Rights Reserved. 陕ICP备20011297号 严禁将涉及国家秘密的信息发布上网
地 址:陕西省汉中市汉台区东塔路418号 邮 箱:lelmorjv@163.com 纪检举报邮箱:lelmorjv@163.com 传 真:0916-2223444

微信